· Cole Harmon
Wood Grain Direction: How to Read It Before Every Cut
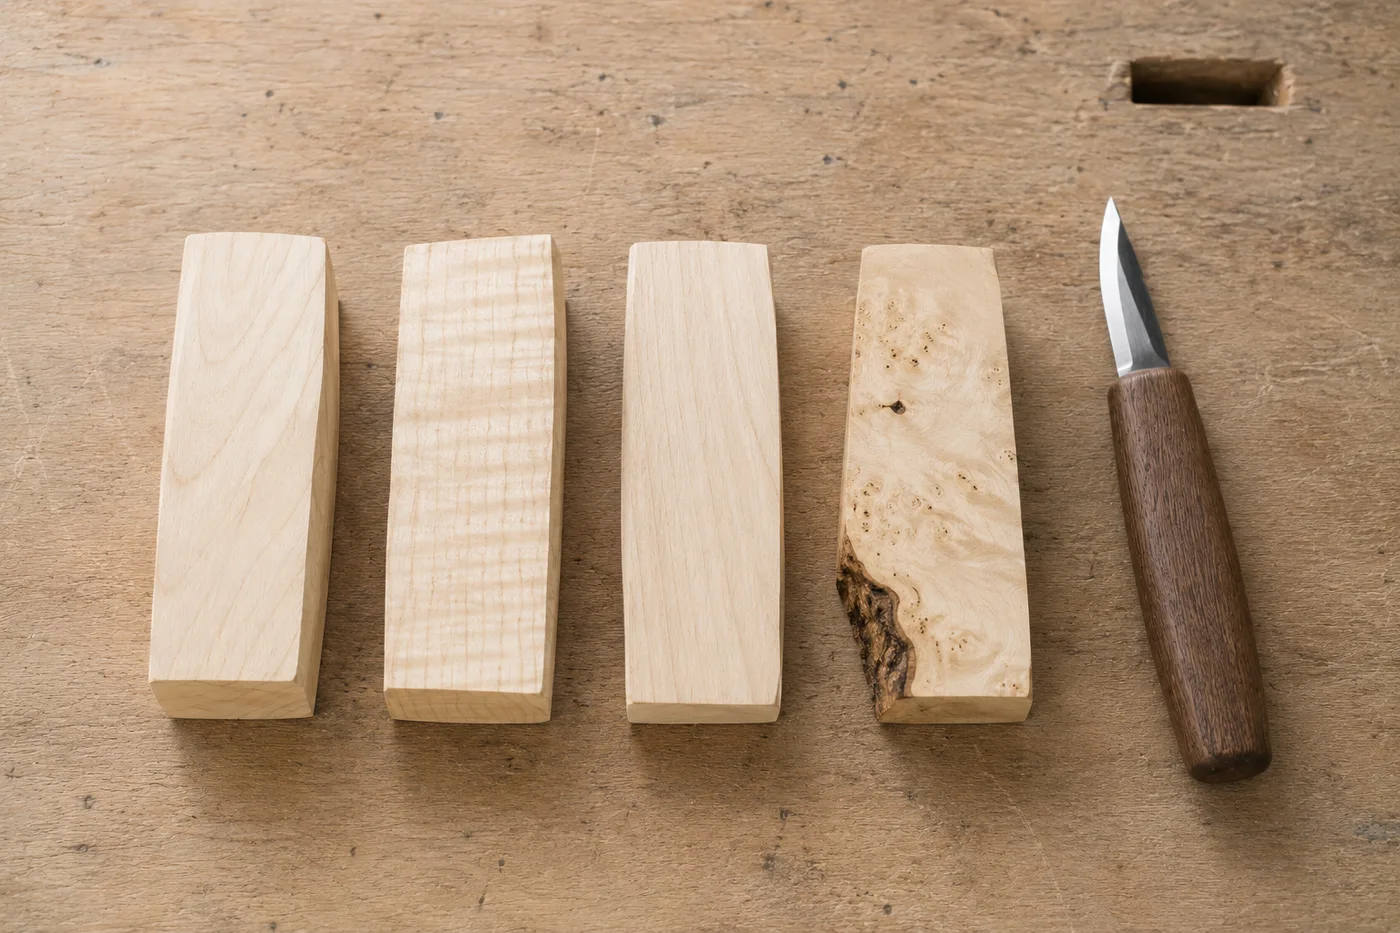
Almost every beginner has the same first bad session. The knife came sharp, the wood was the soft kind everyone recommends, and half the cuts still came out torn and fuzzy while the other half peeled off like ribbon. Nothing changed between them except direction. Grain reading is the skill that turns that coin flip into a decision, and it is the one thing that makes every other technique work: the grips and cut types in our beginner's guide all assume you already know which way to point them.
Why the same cut slices one way and tears the other
Picture a handful of drinking straws taped into a block. Slice across them at a shallow angle and each straw is cut through cleanly at the point the blade meets it. Now push the blade in from the other end, under the straws instead of across them, and what happens is not cutting at all: the blade acts as a wedge, prying the straws off the ones beneath before it has severed anything. Wood fibers behave the same way, which is why tear-out always appears ahead of the blade rather than under it.
A keen edge in the wrong direction still tears, just more politely; a keen edge in the right direction is what the good cuts in your first session actually were. Once you can predict the direction, you stop needing luck.
How to read grain direction on a blank before you cut
The face of a blank shows you the pattern; the side shows you the angle, and the angle is the part that decides the cut. Turn the piece so light rakes along one edge and you will see the fiber lines emerge from the surface and run back into the wood at a shallow slope, like a very long staircase seen from the side. That slope has a downhill direction. Working downhill means the edge is always crossing fibers that are anchored behind it. Working uphill means it is sliding under fibers whose loose ends face the blade.
When the light is bad or the wood is figured enough to confuse you, stop guessing and spend a corner on it. One shallow paring cut, somewhere the final shape will remove anyway, tells you everything in about a second. Clean curl, keep going. Fuzzy patch, turn the piece around. Carvers do this constantly and it never stops being faster than repairing tear-out. Which species you are learning on changes how forgiving that test is, and the comparison is in our guide to the best wood for carving.
Uphill, downhill, and the ramp you are cutting on
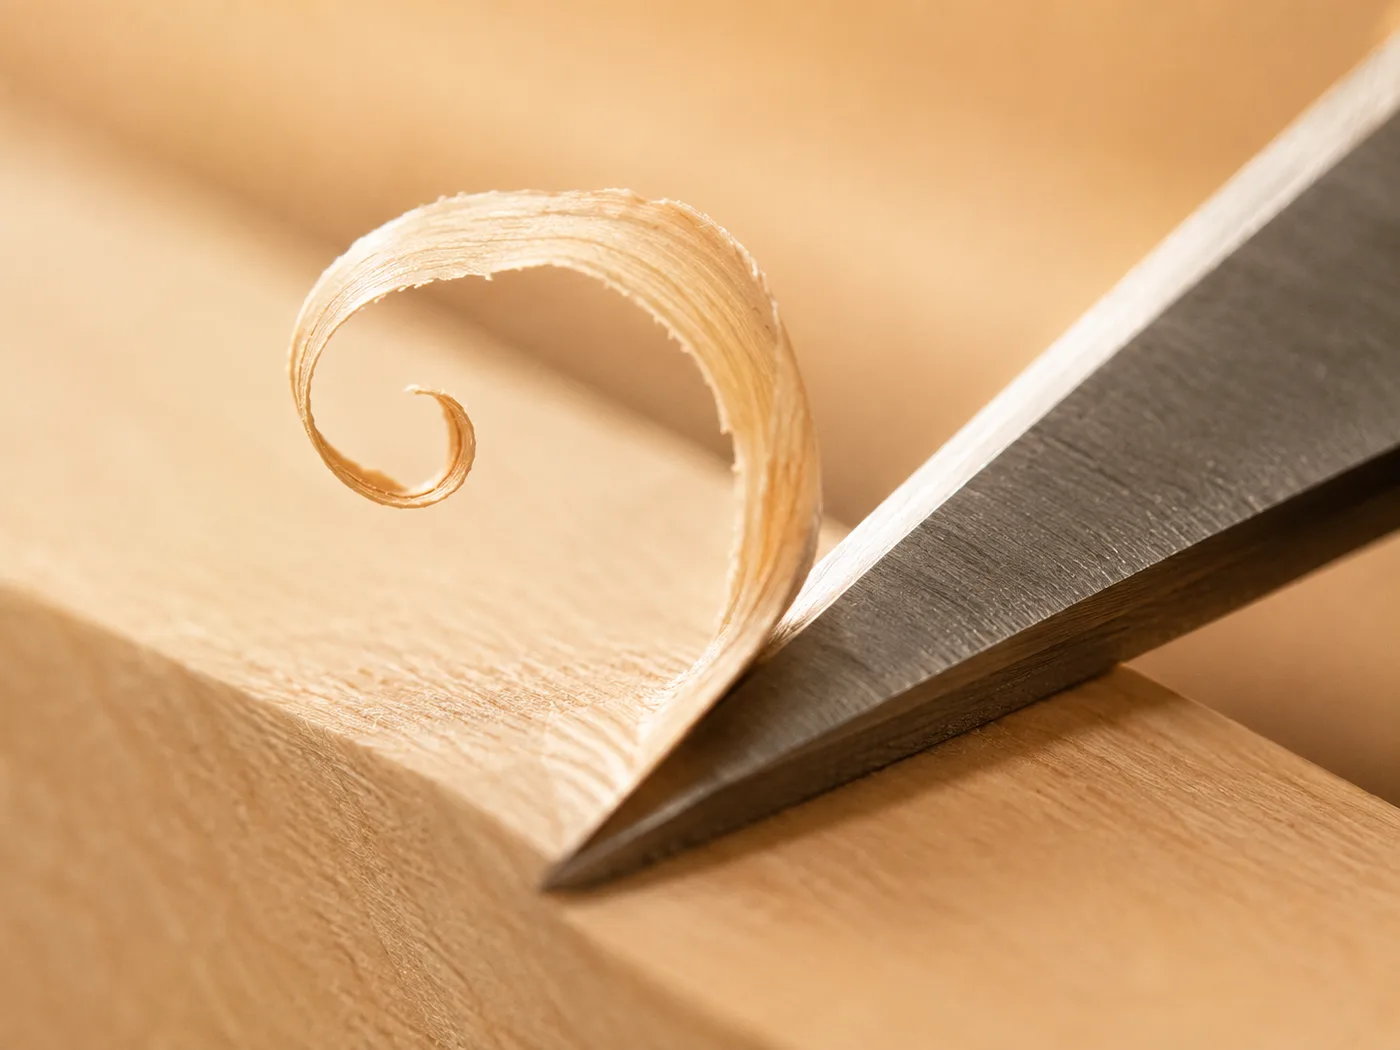
Carvers borrow the language of planing a board for this, and it transfers exactly to knife work. The shaving itself is the readout. A continuous curl that lifts and rolls away from the edge in one piece means the fibers are being severed cleanly at the surface. A shaving that comes off in short chunks, or a surface left woolly and pale where the fibers stood up instead of parting, means the ramp is running the other way.
The practical habit is to stop thinking about the shape you want for a moment and think only about the ramp. On a stick or a simple figure the ramp usually runs one way for the whole length, so you carve from the middle toward each end rather than from one end to the other. The long push cuts described on our whittling knife page work best exactly when they run downhill for their whole length, which is why a stick feels so satisfying and a knot feels so awful.
End grain: the direction that behaves like a different material
Every blank has two end-grain faces, and every carving that goes round a form crosses end grain twice. It is not a mistake or a bad piece of wood, it is simply the third direction, and it does not respond to the downhill rule because the fibers meet the surface head on. Pushing straight into it crushes the fiber ends rather than cutting them, which leaves the powdery, slightly compressed look people mistake for a dull blade.
Two things make end grain behave. The first is angle: skew the edge so it slices across the fibers rather than meeting them square, which converts a chopping action into a shearing one. The second is depth: whisper-thin passes, several of them, instead of one committed cut. This is where a keen edge stops being a nicety, because end grain punishes any blade being asked to push rather than slice. It is also the moment most carvers reach for the smaller blades in the roll.
Why grain direction changes halfway through a curve
This is the single thing that confuses people who have already learned the downhill rule on flat work. Nothing about the wood changed; the surface simply rotated relative to fibers that never moved. Every rounded form has at least one crest where the direction flips, and the tear-out lands right at the point where you sailed past it without noticing.
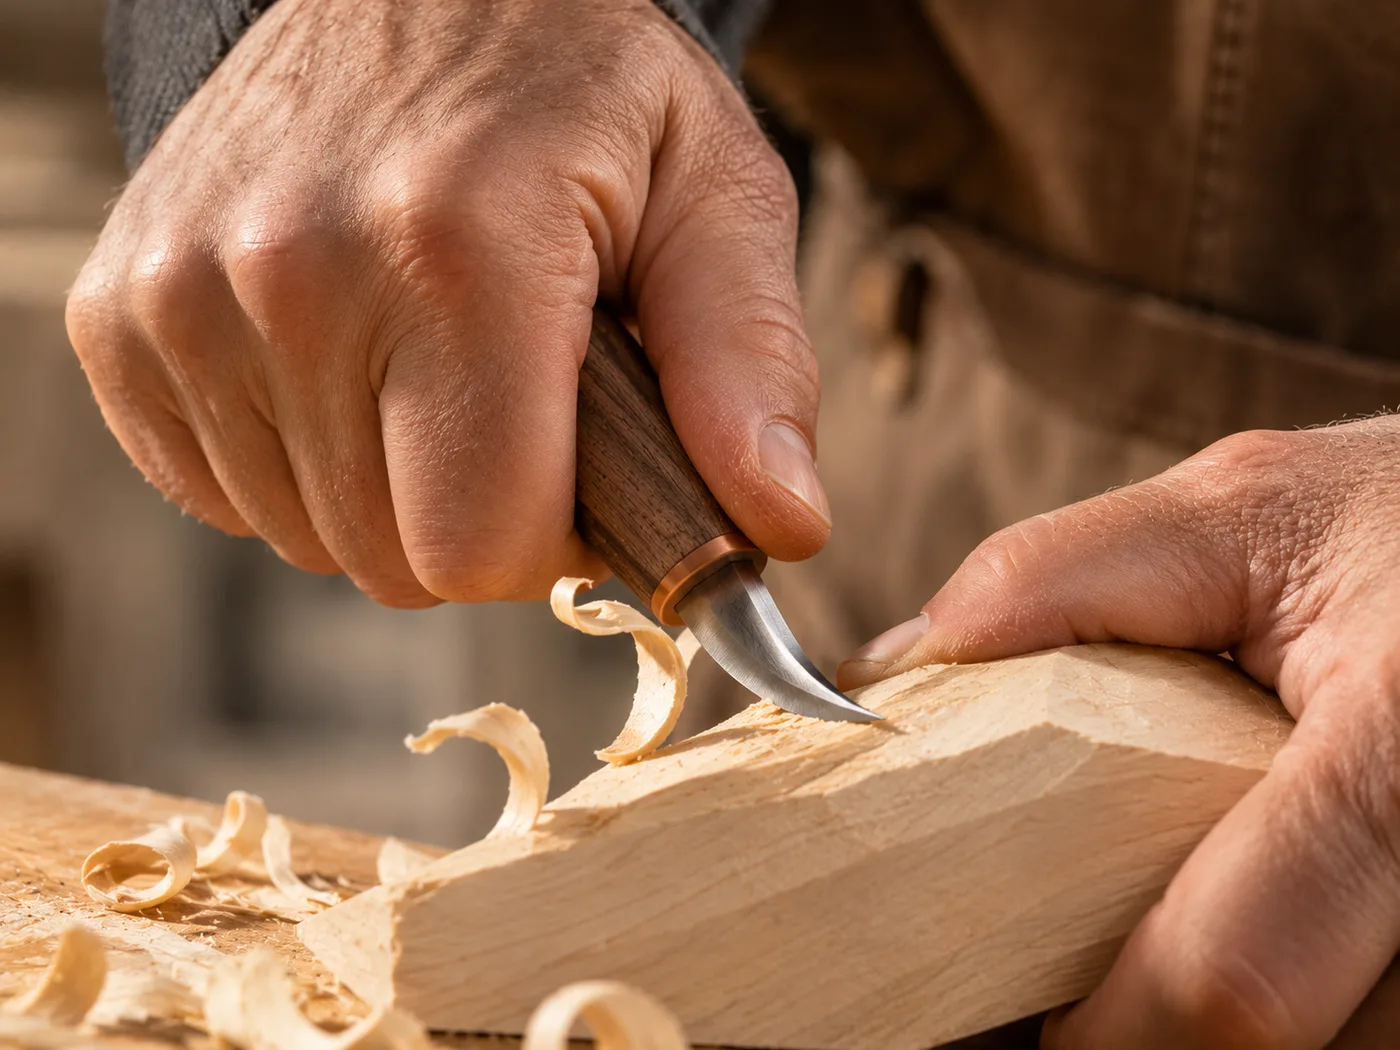
Curved work is also where this stops being theory and starts costing finished detail. Hollowing is the extreme case, because a concave surface flips direction on both sides of the deepest point, which is part of why the hook knife is worked in short sweeps rotated around the piece rather than in long strokes. The same reasoning drives the rotate-as-you-go instruction in our spoon carving guide: you are not being told to fidget with the blank, you are being told to keep finding the downhill.
Knots and figure: where the straight line stops
The fourth blank in the photo above is the difficult case made visible. Plain straight grain shows parallel lines and behaves predictably. Rippled or curly figure shows the fibers changing angle in bands, which is why it looks three-dimensional in raking light and why it tears in alternating stripes if you take one long pass. Burl, with its swirls and bark inclusion, has no consistent direction at all.
The working rule for all three is the same and it is short: reduce the distance you commit to. On straight grain a cut can run the length of the piece. Near a knot or through figure, a cut should be about as long as the region whose direction you can actually see, which might be a centimeter. Cut around a knot rather than through it while you are learning, and if a beginner project keeps failing at the same spot, look for the knot before you blame the technique. Choosing straight-grained stock for early projects removes the problem entirely.
Tear-out, or a tired edge? Telling them apart
This is the diagnostic to build early, because the two problems feel identical in the hand and have completely different fixes. Reversing costs a second. Stropping costs a minute or two. Doing them in that order means you never spend the minute on a problem the second would have solved, and you never keep fighting a genuinely tired edge because you assumed it was the grain.
The edge half of the answer matters more in grain work than anywhere else, because a sharp blade reads the wood for you: it takes a clean curl the moment the direction is right, so the feedback arrives immediately instead of ambiguously. That is what a verified CarveKind buyer in Canada described out of the box, simply enough: "Very sharp. Steel seems good quality. Nice quality handles." Keeping it there is a habit rather than a project, using the leather strop and green polishing wax in the kit, and the full routine is in our sharpening guide.
One safety note belongs here specifically, because it is the moment grain reading creates. When you decide to reverse a cut, you are changing the direction the blade travels, and the habits that were protecting you a second ago were built around the old direction. Reset before you cut: check where the edge will exit, keep the hand holding the blank behind the edge's path rather than in front of it, and cut away from your body whenever the new grip allows it. A cut-resistant glove or thumb guard on the holding hand is cheap insurance while you are learning, and these are sharpened tools for adults, or closely supervised teens at most.
Average rating across 192 verified buyer reviews of the CarveKind kit
— CarveKind verified buyer data, 2026
Grain reading is the fastest-compounding skill in carving, because it costs nothing and it applies to every cut you will ever make. Give it one deliberate session: take a straight-grained blank, cut the same facet from both ends, and look at the two surfaces side by side in raking light. After that you will see the ramp before you make the cut rather than after, and the difference between a torn face and a facet that catches the light stops being luck. The five chrome vanadium blades, the strop and the green polishing wax that keep those cuts reading clearly are all in the CarveKind 8-piece kit, at $39.95 against a $59.95 compare price, with free shipping and a 30-day money-back guarantee.
Share of US orders delivered within 11 business days, with free shipping
— Verified delivery data, 2026
Wood grain direction FAQ
How do you tell which way the grain runs on a carving blank?
Look at the side of the blank, not the face. The long lines running down the side are the fiber bundles, and they almost never sit perfectly parallel to the surface, they slope. Cut in the direction the slope falls away from your edge. If you cannot see it, take one shallow test cut in a corner: a clean curl means you are going the right way, a torn fuzzy patch means reverse.
What does cutting against the grain actually do to the wood?
The edge slips underneath a fiber bundle instead of shearing across it, then lifts and splits it away ahead of the blade. That is why the damage appears in front of the cut rather than under it, and why it can run deeper than the cut you intended. On a small carving it can take out a detail you already finished.
Why does the grain direction change halfway through my cut?
Because the surface curved but the fibers did not. On any convex or concave shape the fibers meet the surface at a changing angle, so a stroke that starts downhill crosses a high point and continues uphill. The fix is to work from the high point outward in both directions rather than trying to take one long pass over the whole curve.
Does a sharper knife let you cut against the grain?
A keen, thin edge tears far less and recovers a surface that a dull one would ruin, so sharpening genuinely widens what you can get away with. It does not cancel the fiber direction though. Reading the grain and keeping the edge stropped work together: the sharp blade gives you a clean read, and the right direction gives the sharp blade an easy job.

Cole Harmon · Hobbyist Woodcarver & Hand-Tool Reviewer, 8 yrs
Cole has spent eight years carving with hand tools — sloyd knives, hook knives, strops and sharpening gear.
Written by Cole Harmon.